Wednesday, October 31, 2012

Halloweens Past

I thought it would be fun to go through all my pictures and find all the Halloweens we have pictures of!!

I’ll start with some really old ones! 

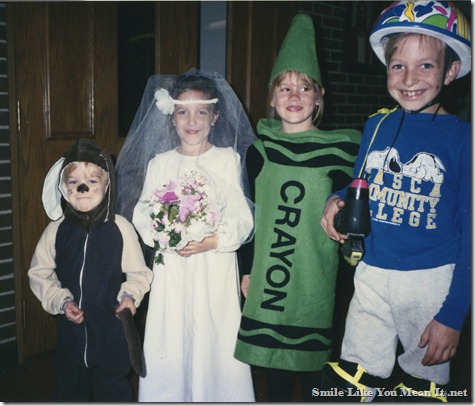
I think I was seven in this picture…a Bride!   The crayon is a friend—Kirsten something—and the boys are my brothers.  I’m sure they will love that I posted this picture ;)Katie031
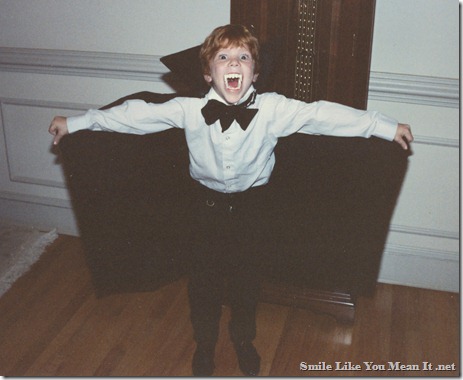
I hope my hubby doesn’t mind me posting this, but I love this picture of him as Dracula!Photo003
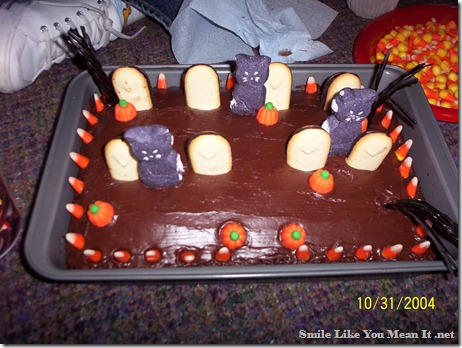
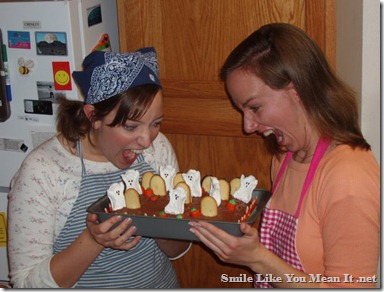
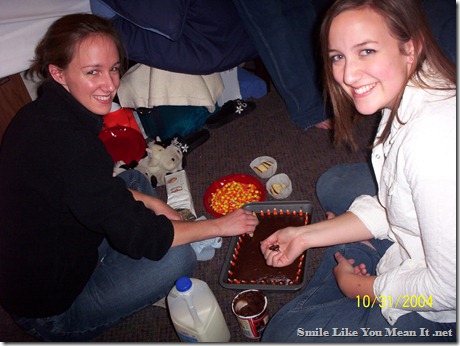
I can’t find any more of us as kids…so onto college!  My next door friend, Lauren, and I made a Graveyard cake {in the dorms} and we did one every year for three years after that! graveyard cake 2004 with Laurengraveyard cake 2004
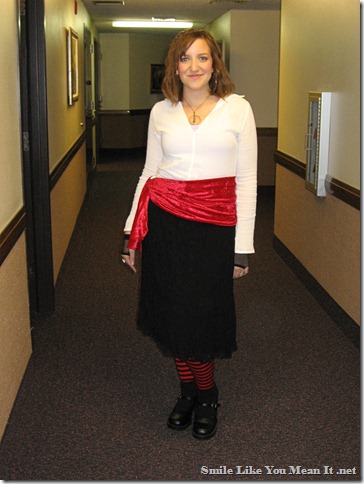
In 2005 I was a pirate…arrrrr!oct 2005 Pirate

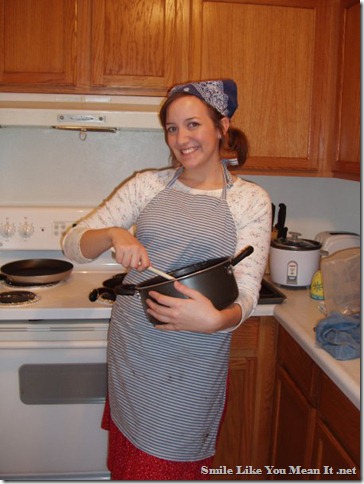
In 2006, I was working at Jamba Juice on campus and it was the only day we didn’t have to wear the annoying uniforms, so I dressed up!!  I meant to look like a gardener…but ended up looking more like a housewife.  My roomie took this pic when I was making dinner that night!Katie as a housewife 2006
graveyard cake 2006

Scott and I were lame in 2007, we’d just gotten married and we lived in a basement apartment which meant we didn’t have any trick-or-treaters. We didn’t have any parties to go to and so we didn’t dress up.  We probably just came back from school and watched TV as usual.  We did go to a few really awesome haunted houses and such that year, however, so that gives up some cool points.  

In 2008 we were doctors and we didn’t really dress up Luke, so we just called him our little patient.  Oct 2008 doctorsOct 2008 evil doctor 2Oct 2008 evil doctor

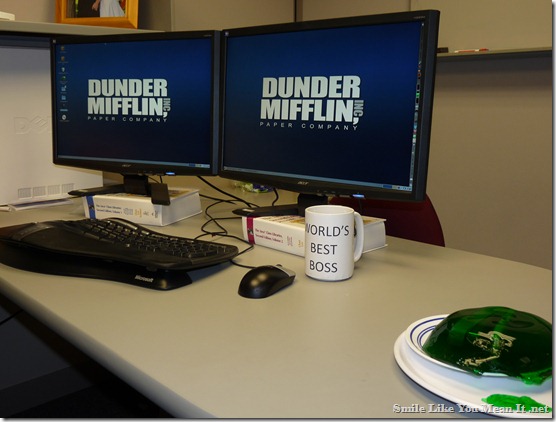
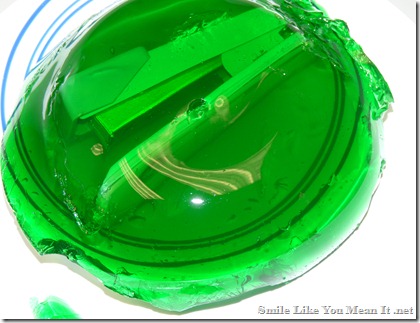
In 2009, Scott and I dressed up as Jim & Pam from The Office.  We dressed up like they dressed up on the show…so Scott was a three-hole-punch version of Jim and I was a cat.  We decorated his office to be like The Office—even put a stapler in jello!  Jim and Pam Oct 2009Oct 2009 officeoct 09 jellow stapler

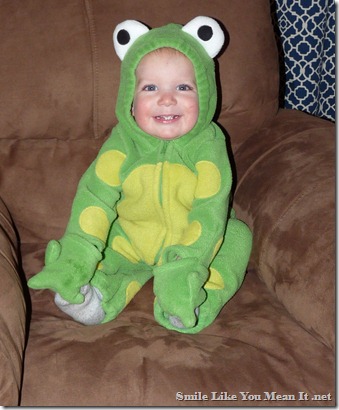
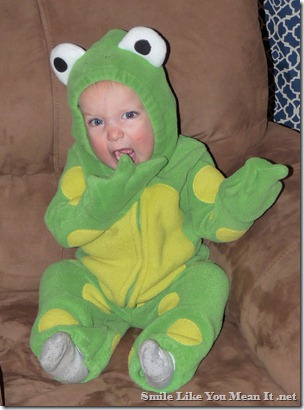
In 2009, Luke was a frog:P1070208-2P1070209-2


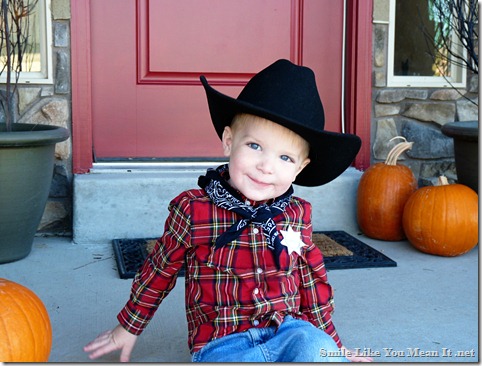
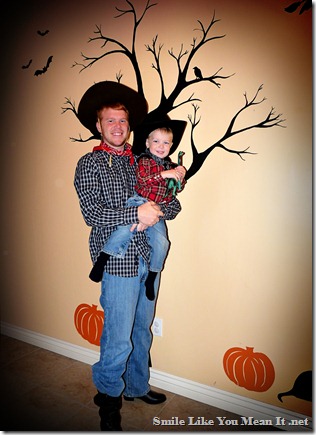
In 2010, we were all cowboys/girl:cowboy 2010oct 2010 cowboy daddyoct 2010 cowgirl


In 2011 (last year), Luke was a dinosaur and Scott and I wore these skeleton shirts that I made!Oct 2011 dinosaurOct 2011 fam shot

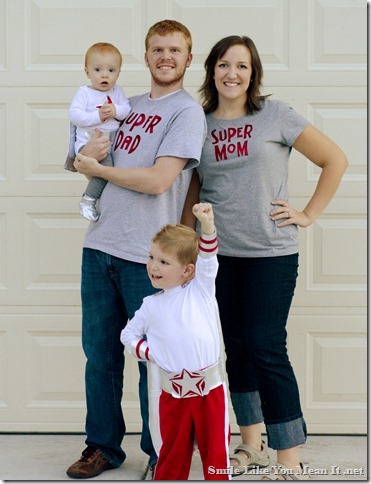
And this year we were all superheroes.  Luke doesn’t have a preference for specific ones…so he and Sam were just generic superheroes and Scott & I were Super Mom and Super Dad!  DSC_9355-2b
More pictures of us later!

Wednesday, October 24, 2012

Energy Bursts

Do you ever have those days where you can just keep going and going and going and just get a million things done without really getting tired?


I had one of those days yesterday!

Cleared off all the kitchen counters
I swept and mopped
and scrubbed off all the gunk on the kitchen floor
Did ALL the dishes
Cleaned out the fridge
Scrubbed down the high chair
Scrubbed down the trash
Took out all the trashes
Did a load of laundry
Pulled out the washer and the dryer and I vacuumed up all the link and cleaned the walls
I vacuumed the living room, hallways
I vacuumed out the couches
Cleaned up all the toys

Cleared out the garage--put stuff in the shed, threw trash away, blew out all the dirt and reorganized

Vacuumed out both cars inside and in the trunks

I put away a huge pile of stuff that was in the garage but needed to be put away inside, including a bunch of toys and coats and blankets from the cars.

I made waffles for dinner (though this didn't take too much effort it still goes on the list!)

Rocked baby Sam to sleep 3 times (he took awesome naps which is how I got a lot of stuff done!)

I ran to Macey's to pick up emergency-get better soon-foods and night time cold medicine for the hubby

and I was even going to run on my treadmill but once I got home from the store my energy pretty much gave out and I just vegged for an hour before bed!

I love these days though, because then I don't feel bad on days like today where I spent most of the day on the computer...updating bloggy things, working on icons in Photoshop, working on my new website information, answering emails, etc, etc!  I don't get much done around the house on "work" days. 

Tuesday, October 23, 2012

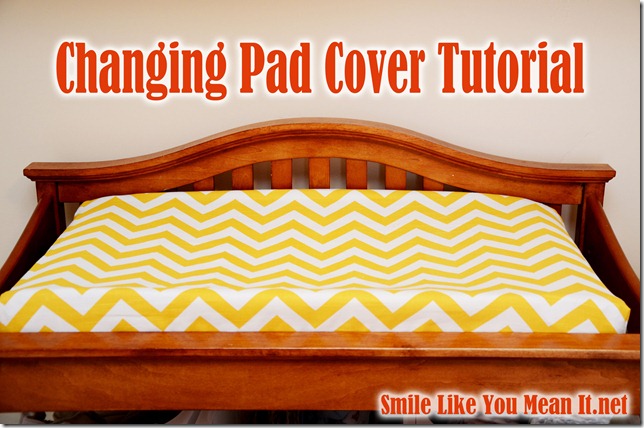
Changing Pad Cover Tutorial

I finally sewed up the fabric I had on Sam’s changing pad into a real cover instead of just wrapping the pad with the fabric and calling it good!

It was really easy and you could make one too!

Changing-Pad-Cover-Tutorial

DIRECTIONS:

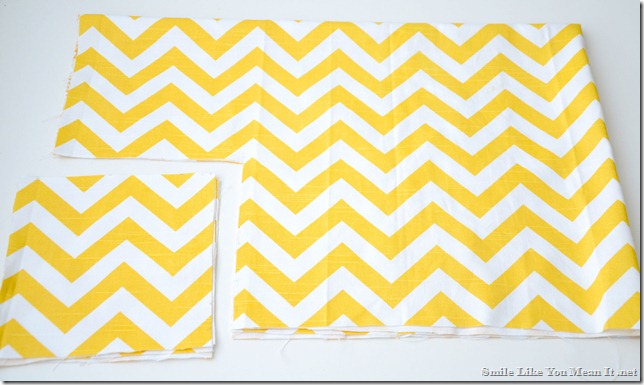
Wash, iron and cut your fabric. I usually hate washing fabric beforehand, so I won’t tell anyone if you decide to skip that step! You need a piece of fabric about 48” x 32” to fit a standard sized pad (32″L X 16″W X 3-4″H).

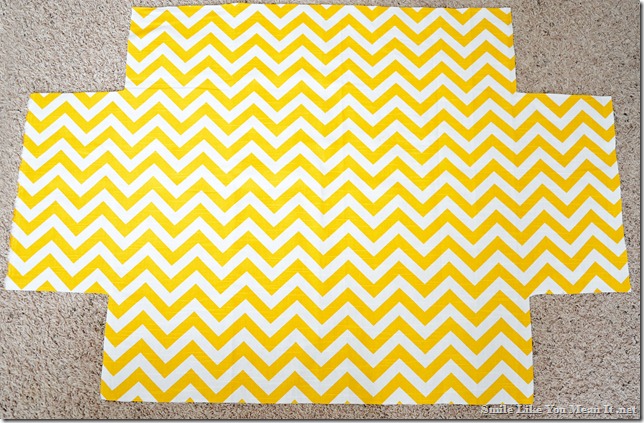
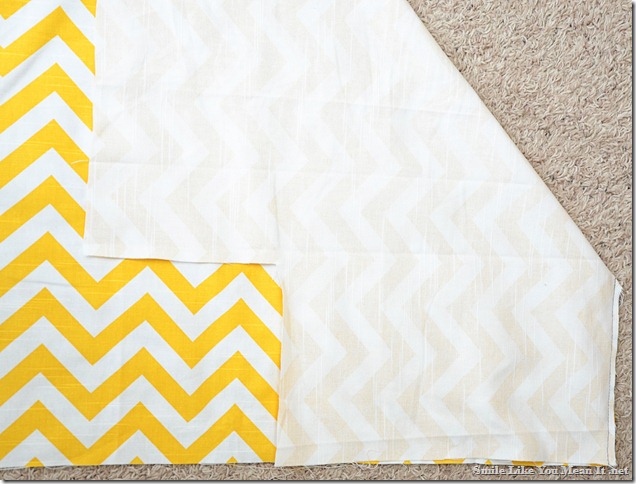
Fold it in half lengthwise and then widthwise and then cut out an 8″ square at the outside corner (the one with no folds).After-Cutting-out-Corners

Now it looks like this:after-cutting

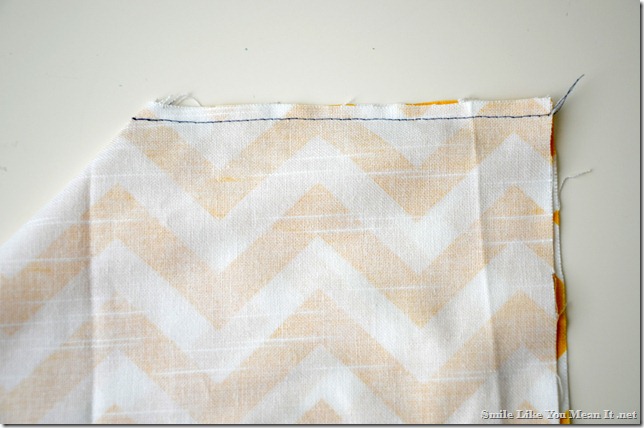
Bring the two sides of a square together, right sides facing and sew them together. CornersSew-Corners

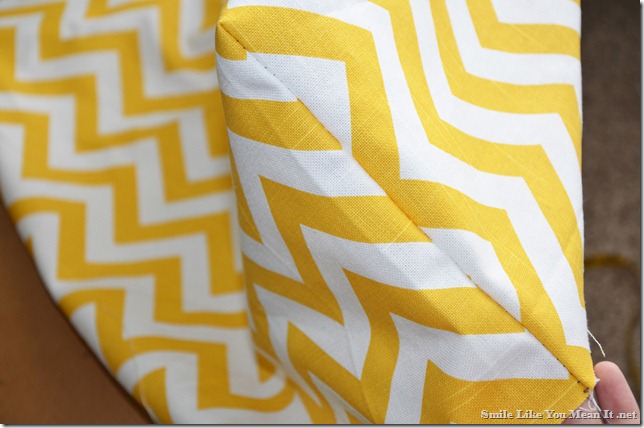
Repeat on all four corners.  When you’re done your changing pad cover will have corners like these:Nice-Corners

Take a break to play with and cuddle your little one ;)Take-a-Break

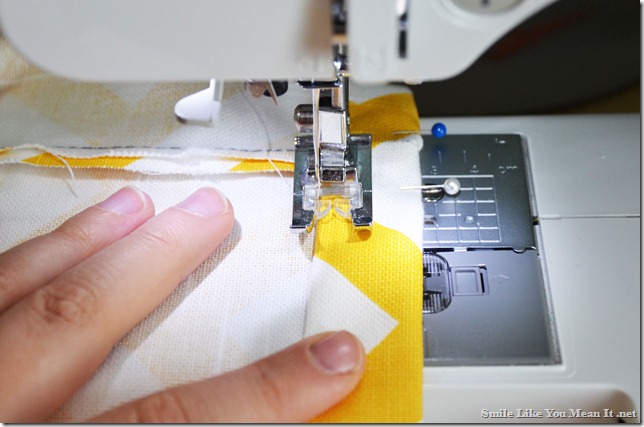
Next, create a tube for the elastic.  On the inside edge that is raw, fold over 1/2″ or so and iron, all the way around.  Then fold it another inch, iron and pin in place.

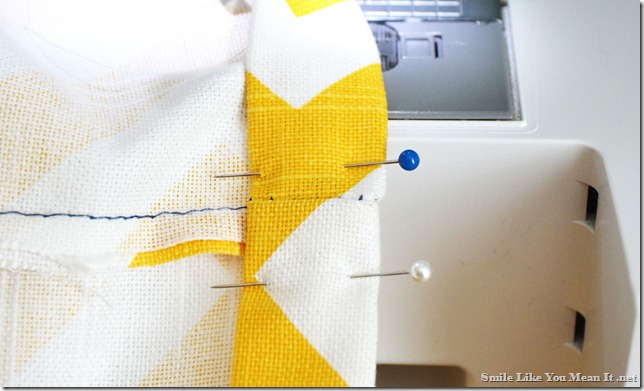
Starting next to a corner, sew it in place at the edge of the seam, leaving a hole at the corner to feed your elastic through, backstitching at beginning and end:leave-an-openingSew-close-to-the-edge

Cut a 36″ piece of elastic, 5/8″ thickness or smaller (i used 3/8″):

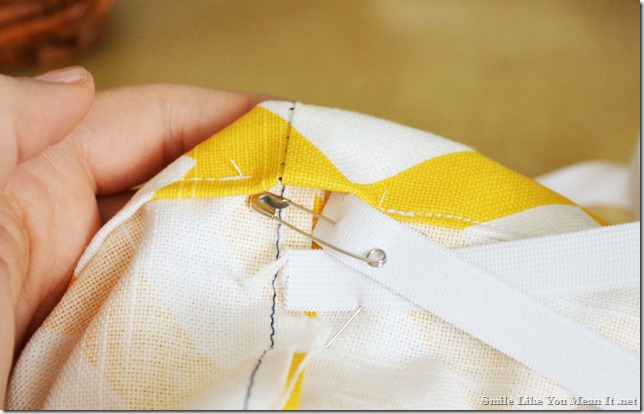
Attach a safety pin to one side of the elastic and attach the other side to the changing pad cover with a pin and feed the elastic through the tube:Use-a-safety-pin

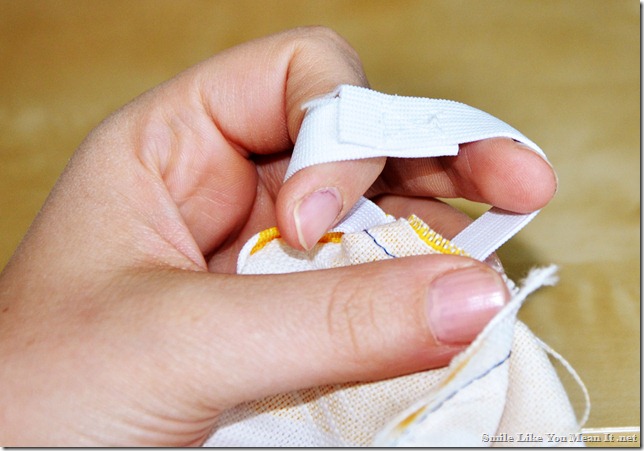
When you pull it out, sew the two sides together –I sewed a box with an X in the middle {it’s kind of hard to see! sorry about that}:sew-elastic-together

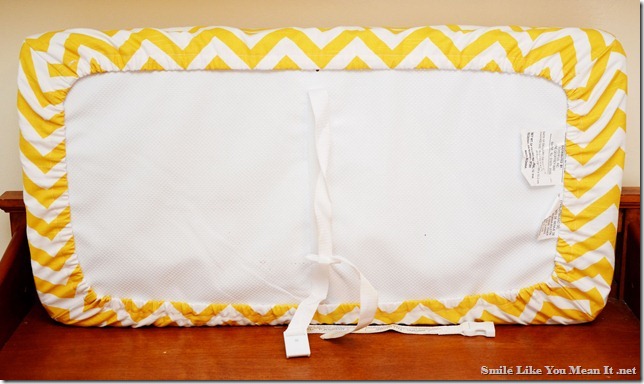
And then sew the hole closed and that’s it! You are done!  It should look like this from the bottom:Changing-Pad-Cover-finished-bottom-view

Try it on to see how it looks!Changing-Pad-Cover-bottom-view

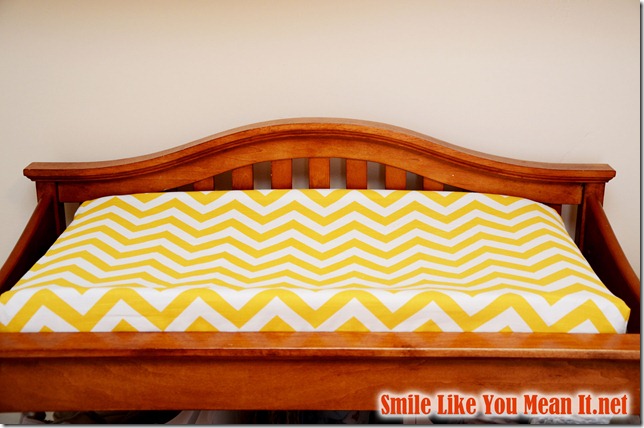
It’s finished! And super cute!Changing-Pad-Cover-Tutorial-finished

I’m thinking this could be a super easy and quick baby gift if you know what the nursery looks like!  It’s always nice to have an extra cover!

I’d love to see yours if you decide to make one!

Tuesday, October 09, 2012

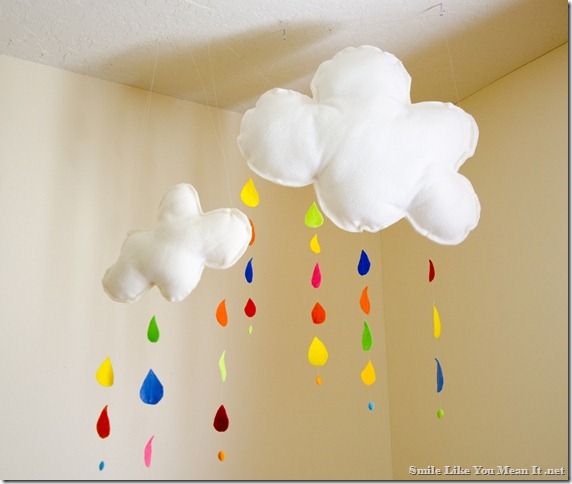
Rainbow Rain Cloud Mobile

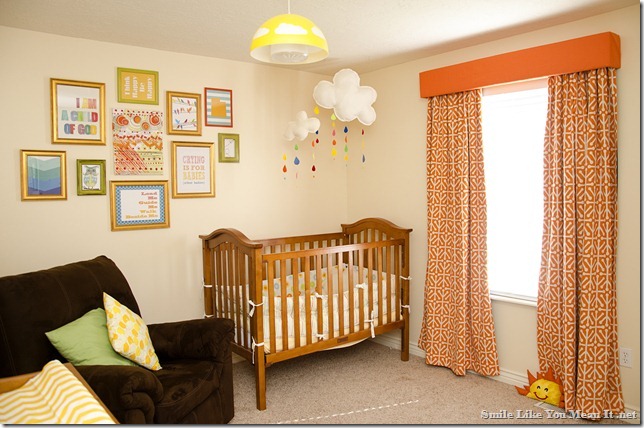
See the rest of Sam’s new room {here and here and here}
This was one of the most fun projects to put together for Sam’s room!
Rainbow Rain Cloud Mobile
HERE’S WHAT YOU NEED:
  • 1 yard of White or Ivory Fleece for the Clouds (more or less depending on the sizes you want)
  • Felt in the desired colors of raindrops (I used colors I already had on hand)
  • Beads (optional—I hung them at the end of each string of raindrops to help weigh them down)
  • Sewing needle
  • Clear string (for hanging raindrops and hanging clouds from ceiling)
  • Glue (I used hot glue because it’s strong & dries fast, but any glue that dries clear would work)
  • Poly-fil/Stuffing
  • Hooks to hang your clouds from the ceiling
HERES WHAT YOU DO:
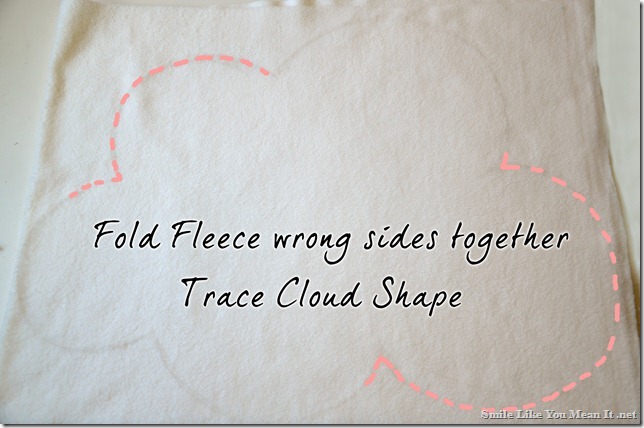
First cut out your clouds.  Fold fleece with wrong sides together and trace all your cloud shapes onto your fleece.  Then cut them out, cutting just inside your tracing marks {so they won’t show up on your clouds}
DSC_8467-2bDSC_8468-2
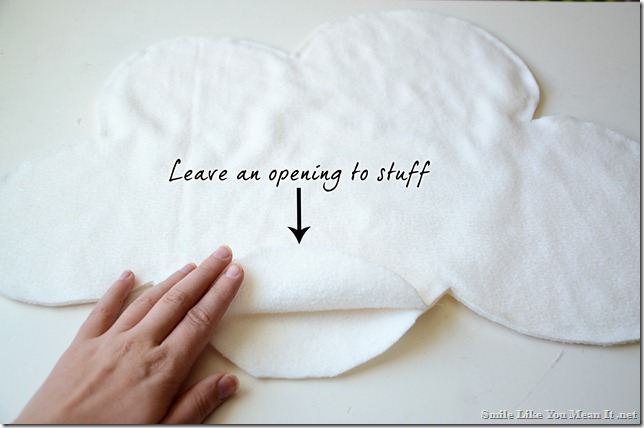
Next, glue all around the edge of the cloud, making sure there are no places where there are any little holes.  Holes may become more evident once you start stuffing, and you can fix them then.  Don’t forget to leave an opening big enough to stuff your clouds with Poly-fil. 
DSC_8472-2
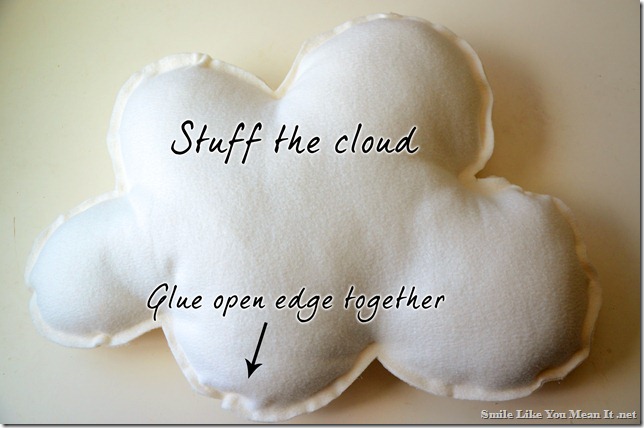
Stuff your cloud, and then carefully glue your opening shut.DSC_8473-2b
Now the cloud part is finished!  Repeat the steps above if you want more clouds.  I originally planned to make one big cloud and two little ones, but then ended up using only the big cloud and one little one.
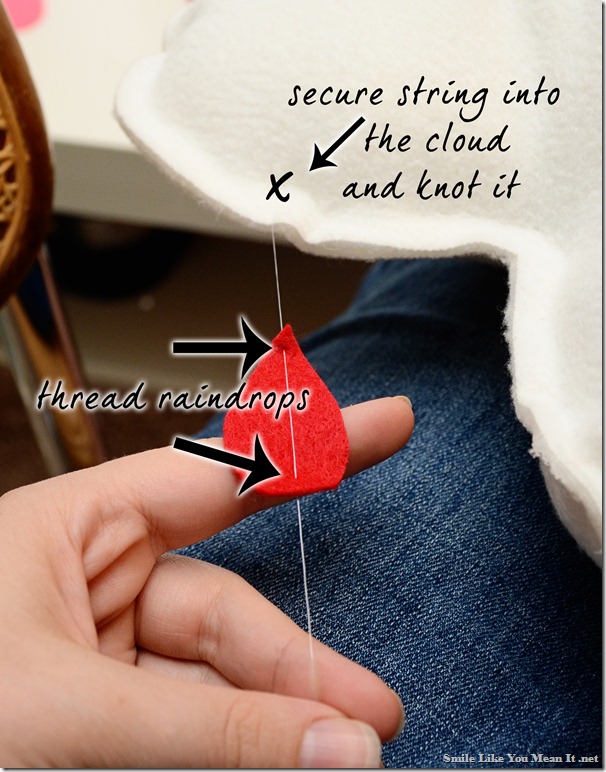
Next, take your needle and an arms length of string.  Tie a knot at the end of your string and pull it through the cloud where you want your raindrop strings to hang.  Weave it back and forth through the cloud layers and tie another knot—making sure it’s nice and secure on the cloud. DSC_8475-2b
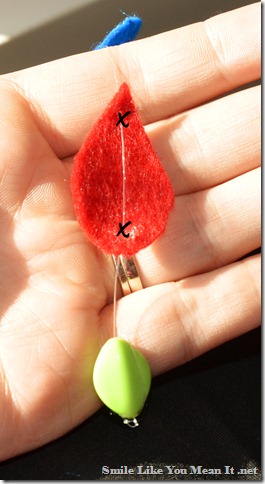
Take your needle and thread it through your raindrops.  At this point the raindrops are loose on the string.  Once all your raindrops on all your strings are threaded, you will be able to slide the raindrops up and down and decide where you want them.
 DSC_8478-2b
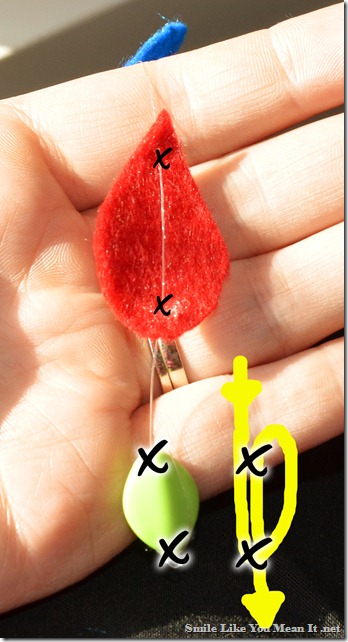
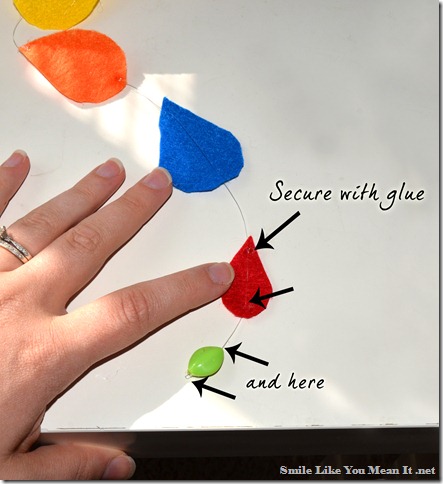
The picture below shows how I threaded the beads onto the ends.  I went down through the bead’s hole, then back up on the outside and down through the bead hold a second time. The X’s mark the holes on the bead. Please excuse my ghetto drawing.   DSC_8478-2C
This secures the bead on the string, but you will still be able to move the bead up and down until you glue it on to secure it. 
When you have all the raindrops and beads where you want them, secure them with hot glue at the top and bottom where the string is threaded through.  DSC_8479-2Now the raindrops are secure on the stings and the strings are secure on your clouds…you are ready to hang them up!
This is probably the trickiest part and may take some trial and error. It took me several tries, and some minor cursing before I had them hanging up the way I wanted them too. 
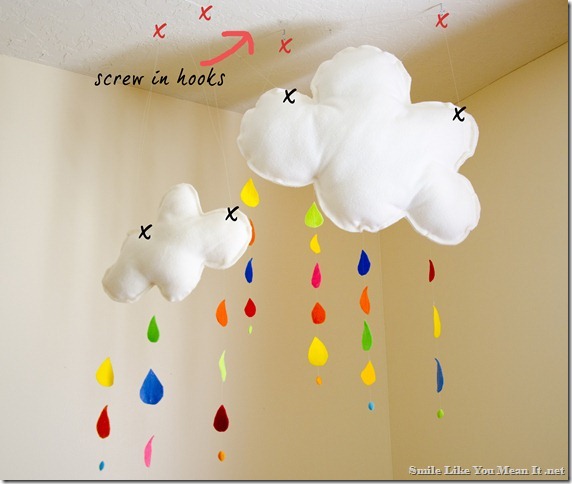
If you don’t want your clouds to spin wildly around and around every time a small breeze hits them {I didn’t}, you have to string them up from two places.   Two hooks in the ceiling per cloud.  I was working with only 3 hooks and it was not working. Use a string that is twice as long as you think you need, and double thread it with your needle so it’s nice and strong.  Make sure you knot it good onto the first side of your cloud.  Hang it up on the hooks and figure out how low you want it to hang from the ceiling, then secure the other end onto the other side of your cloud.  I tried to show you what it kind of should look like on the ceiling, but don’t follow it exactly, because I had only 3 hooks, and you will have at least 2 per cloud.  I did a lot of jimmy-rigging and will have to go back and fix it later (because I used tape instead of a hook in one place!!)  But this picture will give you a little better of an idea—you will still have to play around with it to get it to hang right. 
Rainbow Rain Cloud Mobile - hooks to ceiling
Once they are hung up, stand back and admire the cuteness! You. are. done!DSC_8648-2
Let me know if you have questions and I’ll do my best to answer them!

Monday, October 08, 2012

The “Confetti” Wall


 {See the rest of the room reveal here and here}
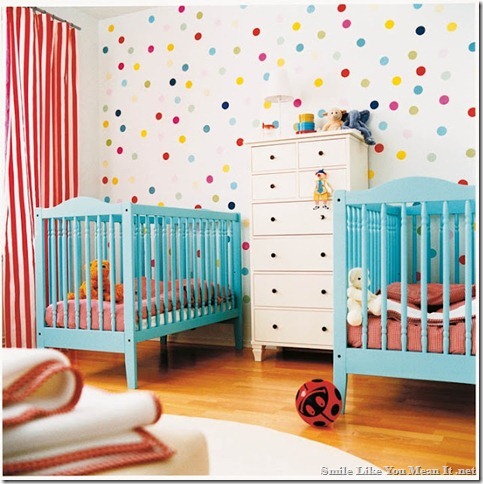
A while back I saw the cutest wall in a nursery picture…it was like confetti!!hus{Source}
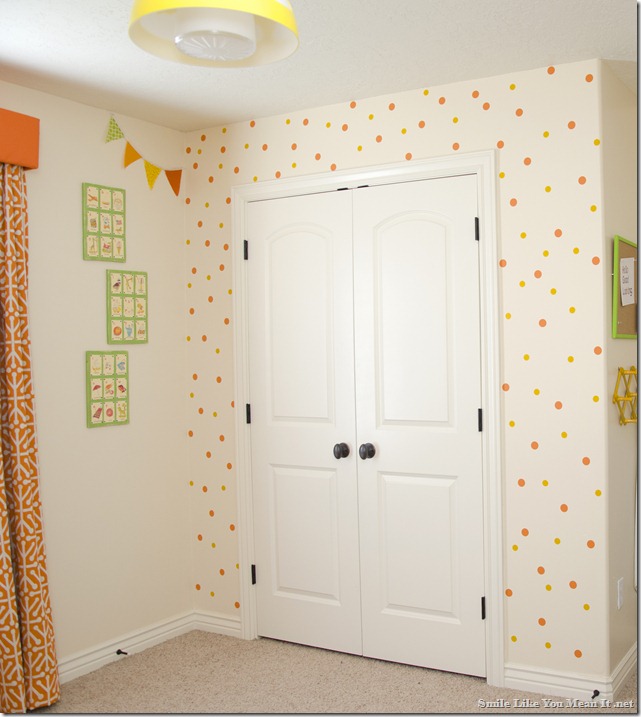
I thought to myself, What a great way that is to bring some color to a wall that would otherwise be bland and blah…I had just such a wall in Sam’s room.  I couldn’t really do much to this wall, and it needed something! So I remembered the confetti wall and decided I could get away with using vinyl instead of painting all those dots!
DSC_8658-2
Each and every one of those dots is a vinyl circle! 
I cut them all out with my cricut and stuck them up randomly on the wall.  I used about 70-90 circles of each color.  The orange ones are about 1 3/4 inches and the yellow-gold ones are 3/4 inch big.  If you don’t have an electronic cutter, you can still cut out circles from sheets of vinyl using a circle punch. 
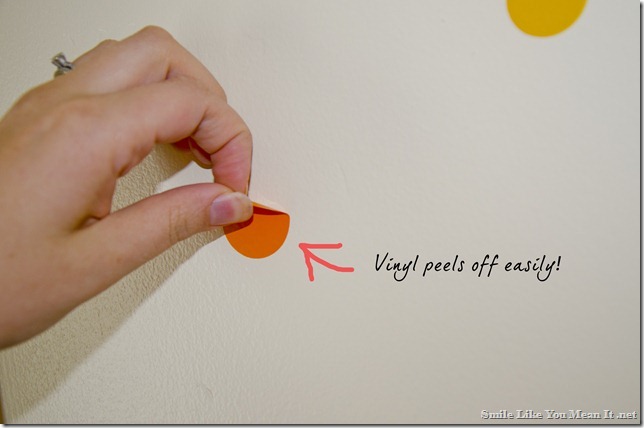
The vinyl is great because it’s not as permanent as paint!  It peels off without damaging the wall or existing paint, making it easy to change or take off later!
Vinyl circle stickers
It’s such a happy wall and I love looking at it as I rock Sam to sleep each day!  It definitely beats my other plan which was to paint the trim around the doors orange…not sure my hubby would have gone for that idea! 

other posts you may like

Related Posts Plugin for WordPress, Blogger...