

First, the new pants that don't have holes yet:
You can make your own or buy iron-on patches at the store and put them on the inside to re-inforce the knee area. This will help prevent holes in the first place.
Iron-On patches at the store look something like this:

They come in different colors and with iron-on adhesive already on the back. You can cut the patches in half for kid-sized pants. Then you can just turn the pants inside out and iron them on about where the knee would hit the inside of the pants.

If you have a lot of pants to add patches to, you can make your own iron on patches!
This is the magic stuff you need to make your own patches:
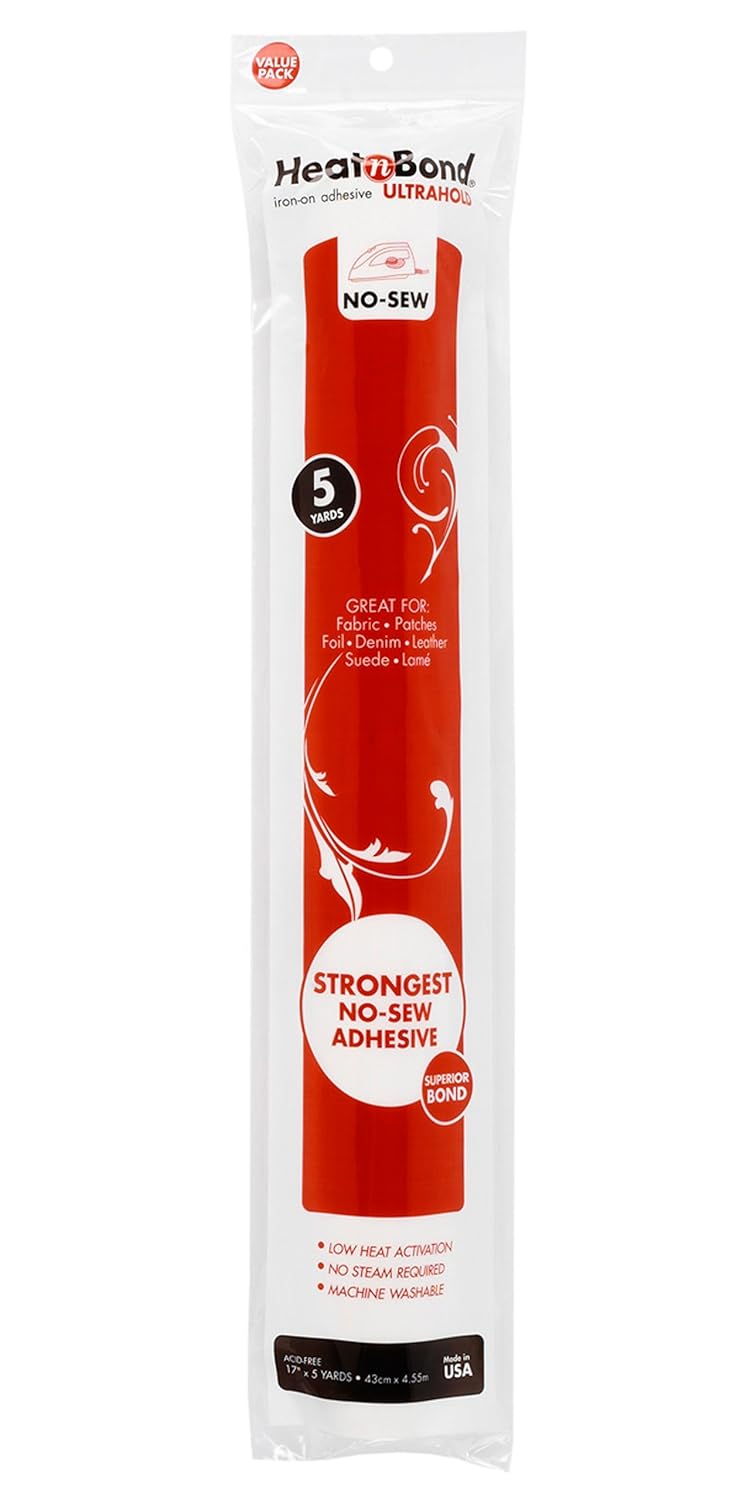
Thermoweb 17-Inch by 5-Yard Heat'n Bond Ultra Hold Iron-On Adhesive
You can find smaller packages of this but it's more cost effective to buy a roll and you can use it for a TON of projects. I use this a lot around Halloween time for costumes! Make sure you do not get the purple package--the "Lite" kind is for thinner fabrics. You need the red pack for the "heavy" or "ultra" hold since you are using it for jean patches.
(Here is a great YouTube video on how to use Heat N Bond!)
(Here is a great YouTube video on how to use Heat N Bond!)
To make what I call preventative patches, all you need is a remnant of material and this Heat N Bond. I had some twill khaki colored material in my stash. You just need something somewhat heavier (but not too thick or heavy) that will make a sturdy barrier to prevent holes.
Next, cut the material to the size you want your patch. I made my patches roughly 3 1/2 x 3 1/2 or
4 x 4ish. I didn't measure and they weren't even very uniform.
Next cut the Heat N Bond the same size as your patch. Follow the directions on the package to adhere your bonding to the patch fabric and then iron it onto your jeans.

These patches will reinforce your pants and make them more resistant to getting holes in the first place.
NOW THE FUN PART!!
How to make custom patches with cute fabric!
Like I said before, normally these pants would be in the "make into shorts" pile, but he had too many pairs with holes so I had to fix at least a few of them so I didn't need to buy any more.


On pant's right leg, I just put an iron on patch on it since the hole wasn't see through. The threadbare strands just stuck to the patch and shouldn't get much worse with the help of reinforcement.
On the pant's left leg there was a gaping hole to fix. I could have just put a patch of denim behind it like these:

But I decided to make them more fun.


I had this great superhero fabric leftover from other projects. I was able to cut out the specific character to peek through the holes of the pants.

Turn your pants inside out to work on them.
First cut strips of the heat n bond and iron the onto the jeans (about 2-3 seconds) and let it cool for a little bit. Then you can remove the paper backing on the heat n bond and the "glue" should remain on the jeans.

These were two different holes and I put the strips on differently. Both ways worked just fine.
There's no right or wrong way to cut the strips. You can make them look nicer if you want, but you just need to get enough glue to get your patch to stick.
Then cut out the patterned fabric big enough to cover all the glue parts on the jeans. You don't want any exposed glue because it will stick to your iron.
Lay the fabric onto the glue (right side facing down toward the open part of the hole. Follow the Heat n Bond instructions (it should be about 8-12 seconds pressing down). This will adhere your fabric to the jeans and cover the hole.

If your fabric is a thin cotton like mine was, you are going to want to put another thicker patch over it to make it durable. This patch you can cover the whole size of the patch with heat n bond and iron the whole thing down. This particular one I used one of my store bought patches cut down to size. Once it's all adhered and cooled, you can cut away any loose fabric sticking up.

And then turn the pants right side out and your done!
The whole process may take some practice, but it really does not take very long. I patched and fixed 10 pairs of pants in 1 1/2 -2 hours.
If you have parts of the pants around the hole that are sticking up like this......

You can cut a little piece of the iron-on adhesive and secure it to the patch from the right-side-out side.

I hope this tutorial was helpful! Good luck mending your pants with awesome patches!
Let me know if you have questions in the comments.

I have been wanting to do something like this for a while! I kept thinking I would have to figure out how to sew the fun fabric on without showing seams and stuff... This makes so much more sense! :-) Love it!
ReplyDeleteI love this thank you for all the tips!! I'll be distressing and patching up with floral print fabric for my twin girls!
ReplyDeleteThanks for all the tips!! I'll be distressing and patching up with floral print fabric for my twin girls!!
ReplyDeletei was googling something more specific about diy patches but i wanted to compliment the hulk patch that is so cool!!
ReplyDeleteI'm gonna try the superhero patches, I know my grandson's are going to LOVE them. Thanks for the awesome idea and instructions!
ReplyDeleteSuch a cute idea. I forgot I did something similar when I was in high school patching up some jeans shorts. thank you for the reminder while I patch up my 4 year-old's jeans with superheroes!
ReplyDeletei really enjoy looking at this ideas ,easy to do and not sewing at all just patch and iron and some cartoon designs
ReplyDeletewhat a great idea. i have 2 great grandsons and i think their mother would really like this. thanks.
ReplyDeleteI look forward to make use of this cool idea. ��✨
ReplyDeleteDoing this today! Almost threw out a ton of pants with holes, luckily I found this just in time! Thank you for sharing!
ReplyDeleteLOVE THIS IDEA! I was hesitating cutting all my boys pants into shorts this winter. This is a great way to postpone doing that! Thank you soooo much!
ReplyDeleteWould this same method and supplies work on sweatpants as well?
ReplyDeleteI just tried this to mend my son's jeans and it worked great! He is 20yrs old but he said I could get creative! I think he'll love it! Lol Thank you!
ReplyDelete