Friday, August 31, 2012

A Quick Personalized Superhero Cape Tutorial

So after Luke was invited to like his sixth birthday party of the summer…I found myself standing in the toy isle at the store yet again. 

“Junk.” I thought to myself.  “This is all junk. Expensive junk, cheap junk, just junk!” *ugh*

Knowing how much Luke loved his superhero capes that my mom made him, I decided that I would try making one—it wouldn’t be too hard, and it would a valued gift {not junk} that’s less than $5. 

It’s actually fairly easy to put a cape like this together! I don’t really have time to do elaborate tutorials these days, so I hope this one is sufficient!

I put this one together in an afternoon!  The only thing that took for-ev-er was the tight zig-zag stitch around the pointy circle part!  I wouldn’t do it that way again if I make another one! 

*************

Tutorial- Personalized Superhero Cape 2

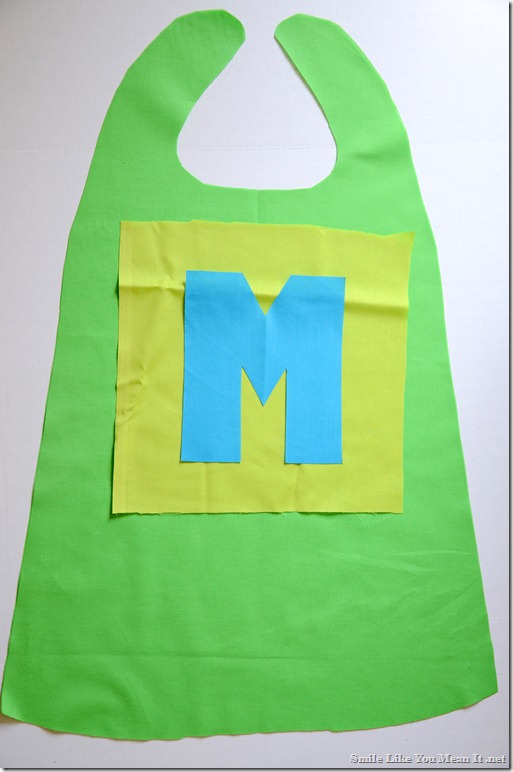
FIRST:  cut out all your pieces.  I cheated and used a cape my mom had to make sure it was about the right length and width.  I used about a yard of fabric for the green cape part.  I folded it in half and then cut out the neck part and the sides and bottom curve.  I tested it on my four-year old to make sure the neck would work.

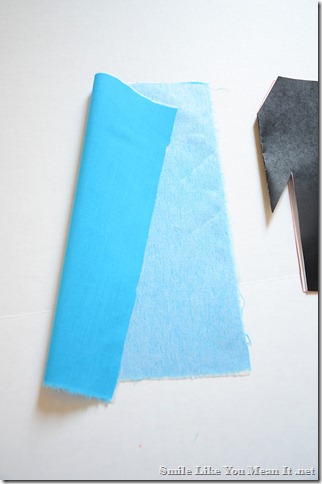
For the letter and the spikey circle fabric behind it, I ironed on fusible interfacing before cutting them into their final shapes.  I used a print out of an “M” from the computer to use as a template for my letter. 

DSC_7934-2

personalized superhero cape

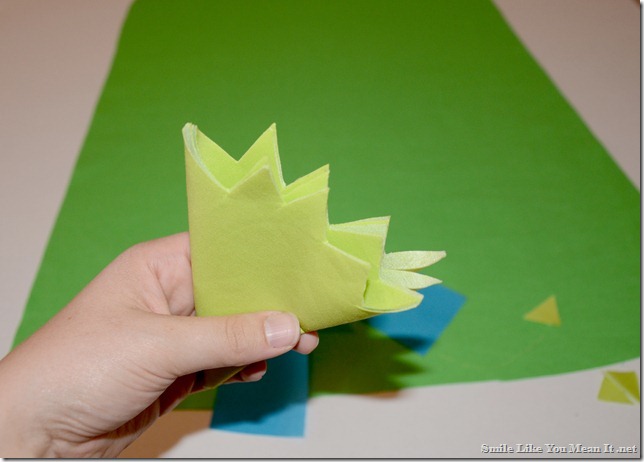
To cut the circle behind the letter (iron on fusible interfacing first) I just folded it in half, then again, then again.  I cut a curve for the circle and then opened it all back up to make sure it was even.  At this point you can be done or you can refold it and cut spikes.  Less spikes is easier to sew—keep that in mind.  I still had to many on this one. 

DSC_7943-2

DSC_7944-2

This is where my pictures stopped because I was just trying to get it done! 

Next, sew the M to the middle of the spikey circle.  The fusible interfacing should help minimize fraying, so you can just do a straight stitch.  Then sew the spikey circle onto one piece of the green cape fabric.  I used a very tight zig-zag stitch, but I will just use a straight stitch next time. 

When you are done sew the two pieces of the green cape fabric together—right sides together.  Leave an opening to turn it right side out.  Turn it right side out, iron it and then sew a top stitch around all the edges getting pretty close to the edge. 

Sew Velcro pieces onto the neck closure.  I used my four year old to try it on and get it in the right spots. 

Tutorial- Personalized Superhero Cape

Have your model run around with it on so you can take pictures ;)DSC_7949-2Testing out the Cape

It’s easier than you think…only pretty basic sewing skills required.

I really want to make a girly version! I better have a girl next! I am dying to make girly things!

Friday, August 24, 2012

Kitchen Drawer Clean Out

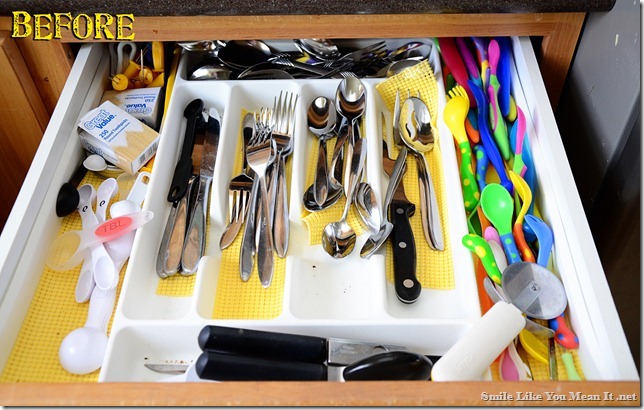
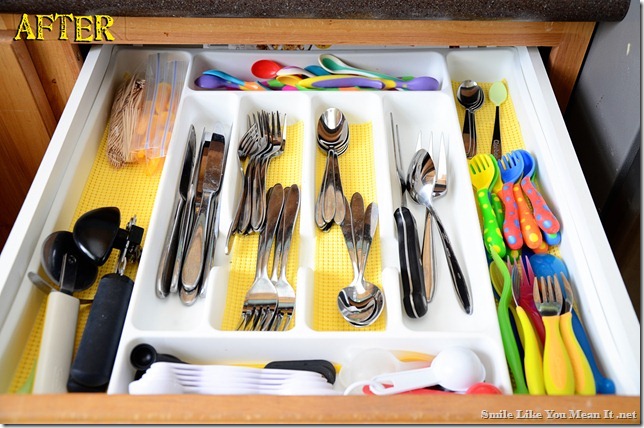
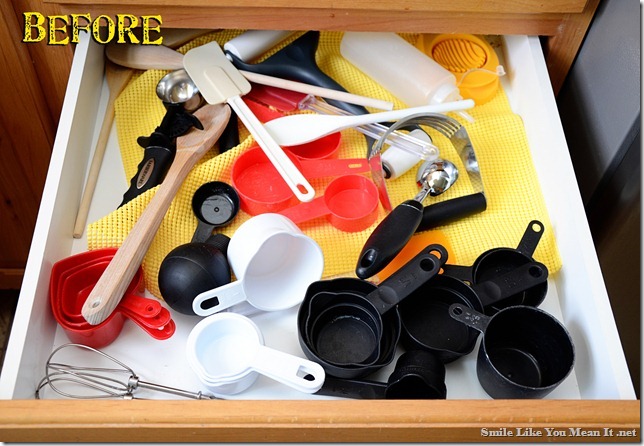
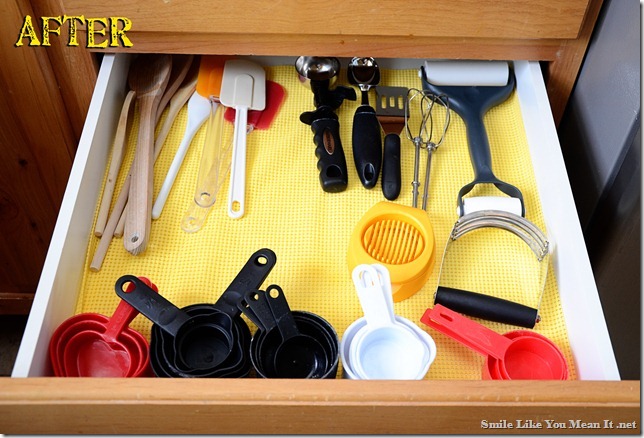
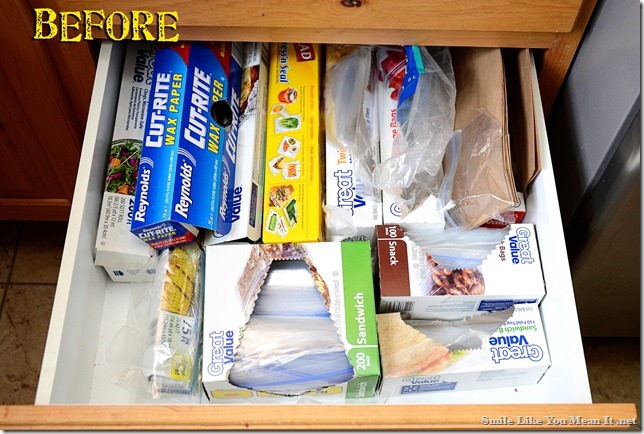
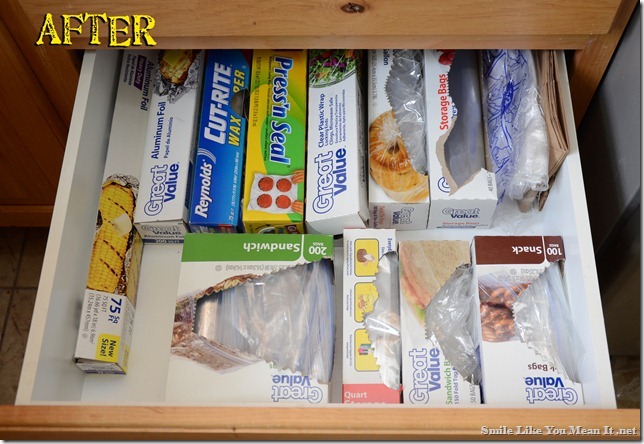
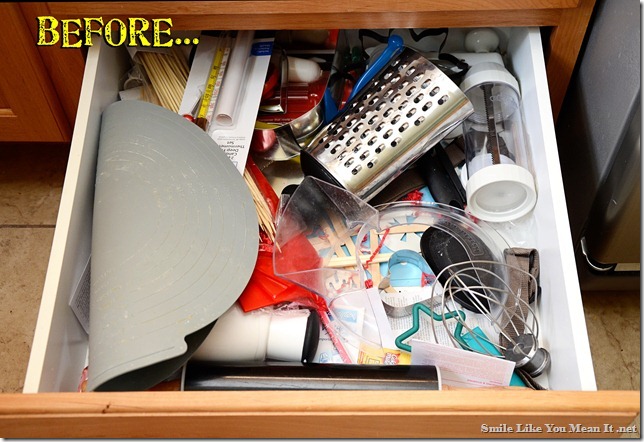
There’s a few spots in the house that always seem to need organizing…my kitchen drawers are one of those places.  I finally had 30 minutes to empty them out, clean the drawer and put everything back in nicely. 

DSC_7826-2DSC_7829-2DSC_7831-2DSC_7832-2DSC_7833-2DSC_7837-2DSC_7838-2

Well I didn’t make it to the last one because Sam woke up…but 3 out of 4 ain’t bad!!

Tips:

The rubber drawer liners are awesome at keeping items from sliding around into a big mess in the drawer.  They get dirty over time and lose their ability to stay put (as you can see in the second set of before/afters), so I used double stick tape to keep it in place and now it’s not going anywhere!

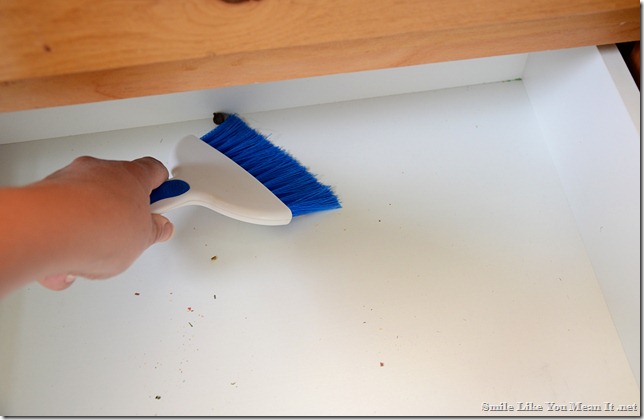
Also, cleaning out the drawers can get annoying with all those little crumbs that accumulate.  I found that a mini broom works great to get in all the cracks .  I also use a hand vacuum {or the hose on a big one} to vacuum out the crumbs! less of a headache than a cloth and it gets ALL of the crumbs and leaves nothing behind!

DSC_7835-2

Thursday, August 23, 2012

Cleaning Schedule


The first four months after Sam came along our house was a disaster. 
I guess that’s better than the year and a half it took to get my act together when I had Luke…
Anyway, it was more than a struggle to get things done around the house just to keep it looking decent.  My poor craft desk has just been collecting dust because I’ve been so busy trying to keep up on the daily maintenance around the house!
But I finally found something that is working wonders for me!

{click and print this for yourself!

I came across this great cleaning schedule from the Time Warp Wife.  I looked it over and thought that it looked pretty manageable and it made sense to me because it was similar to the way I was trying to do things but was a bit more efficient.  And since it’s easier to keep things clean than it is to really get down and clean them in the first place, it’s been working!  I just altered my own schedule just a bit to customize it more to our life and home.  {here’s a link to a more detailed explanation of her cleaning schedule}
The house stays picked up and free of clutter more days than none, and I usually get some deeper cleaning done every week since I can manage things a little better. 
The only thing I’m still working on is the laundry…I still manage to end up with huge piles lining up in my hallway to wash and giant piles to fold every week.  Probably because the idea of doing one load a day still hasn’t quite clicked and it’s easier to put it off.
I really hate laundry.
Getting started on this schedule takes a bit more time.  The first two weeks it takes longer to do everything because you are really getting into each area and cleaning it well the first time.  After that, though, it’s a lot easier because it’s not so much work—it’s maintenance cleaning.  The bathrooms took me ALL day the first day.  But each week it’s easier to clean them when I’ve kept them somewhat clean throughout the weeks.  Also, I alternate scrubbing the shower downstairs with the shower upstairs each week so they get really clean every other week.  And that is totally doable and much less daunting then trying to do it every week or taking an hour to scrub it once a month which is what I was doing before.
  
Let me know if you try it!

**UPDATE** 
Here are two more versions you can print off.  The one on the left just took off some stuff that was more pertaining to my daily life.  You can add your own details in those places.  The one on the left is totally blank for you to create your own schedule if you'd like.  Try loading this picture into ipiccy.com and using their cute fonts to add your own text!

To download the picture: Click the image. Then right click the image and click "view image", click one more time to magnify to full size. (it should look pretty huge on the browser screen) Right click, select "save image as" and save it to your computer before printing or getting it printed.  

Wednesday, August 22, 2012

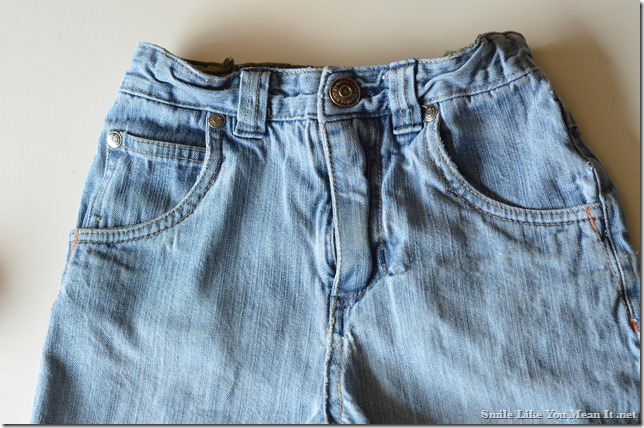
Fixing Annoying Pockets on your Kid's jeans

Fixing annoying pockets on kids jeans and shorts
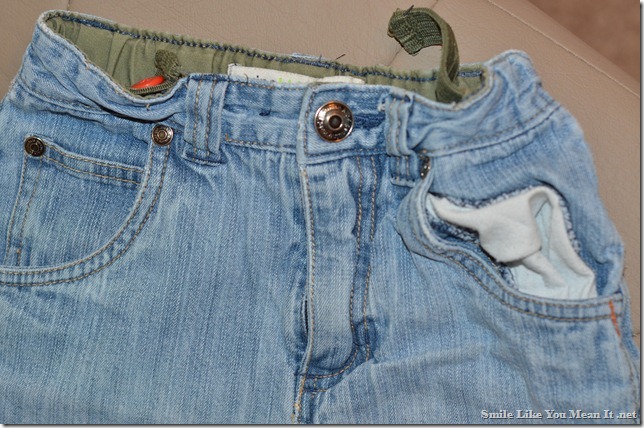
Do your kids pants do this??
It drives me crazy!!
DSC_7599-2
Luke: Crazy??
Me: Yes, crazy!
DSC_7600-2
Me: So what should we do about it, Luke?
Luke: …
DSC_7607-2
Here’s what I did about it…
Sewed them shut!! 
I won’t get anymore cute pictures like this…
DSC_7612-2
But he rarely puts his hands or toys in his pockets anyway, so no harm done!  And now his pants look like this:DSC_7647
All I did was iron down his pockets flat and then sew along the seam line that was already there.
Left side sewn shut; Right side obviously not sewn shut.DSC_7646 You can’t tell, I can’t tell, and the pockets look like they are supposed to (all tucked inside and not poking out!!)
  So much better! A solution that will take you 10 minutes tops!
Also, if you use a big enough stich (I used a 5 or a basting stitch size), then it will be really easy to take out later if you decide that you want the pockets to be usable again. 

Tuesday, August 21, 2012

Contain the Clutter in the Bathroom

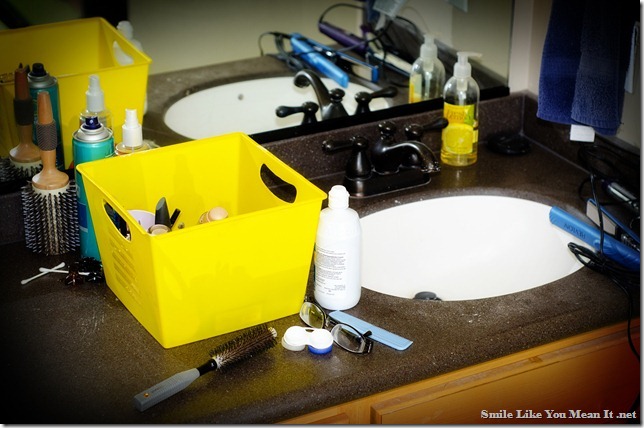
I have a serious problem of leaving all the things I use to get ready in the morning all over the bathroom counter!

Every.Single.Day. 

My hubby loves it ;)

I’ve tried makeup bags, but not everything fits in those and they get so dirty! 

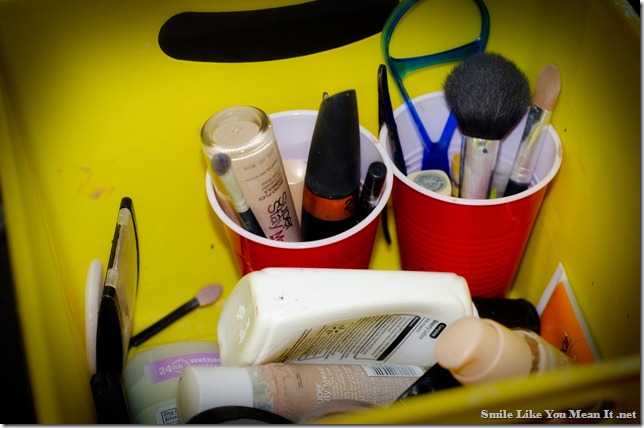
For a while I threw most of it into this yellow bin, using paper cups {real classy!} to keep smaller makeup stuff organized.  It worked for a while, but it still got really dirty and really messy.  The paper cups always fell over and it was always disorganized within the bin.  Decluttering the Bathroom Sink - Smile Like You Mean ItDSC_7789-2

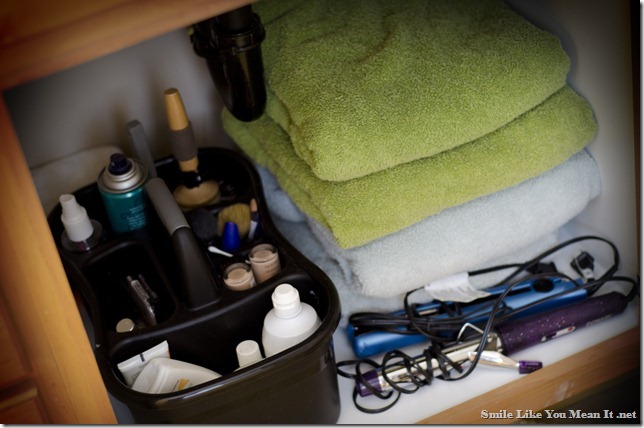
Thanks to school starting, all the college dorm room gear is out in full view at Walmart (and other stores) and I spotted the perfect solution!  A shower caddy!  The smaller container areas fit my daily makeup & tools perfectly and the two larger sections fit all the bottles of random stuff I use, as well as my hairbrushes and hairspray!  Decluttering the Bathroom Sink-on the countertop storage- Smile Like You Mean It

Clutter off the counter!

I can put the whole bin under my sink to get it out of sight, too.  This is a solution that I think will work for a long time for me! Decluttering the Bathroom Sink- under the sink storage- Smile Like You Mean It

Hallelujah!

Saturday, August 18, 2012

Wicked…was wicked awesome!

DSC_7534

My super wonderful hubby came up with the perfect present for my birthday this year…tickets to see Wicked!!  Now I know what all the hype is about! We got to go see it last week and I was very impressed!  I worried about getting bored or not liking it since we spent so much money on it—I tend to get bored half way through a play.  But I never got bored and I loved all of it! I wasn’t expecting it to be funny, so that was a pleasant surprise and made it a lot better for me.  And I dying in love over some of the costumes that the chorus was wearing!  loved it.  I decided I need more theater in my life! What can we go see next???

Friday, August 17, 2012

Superhero!

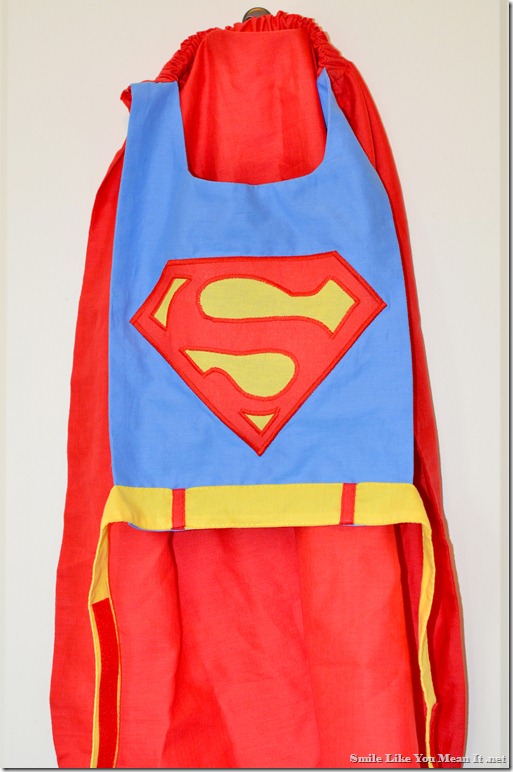
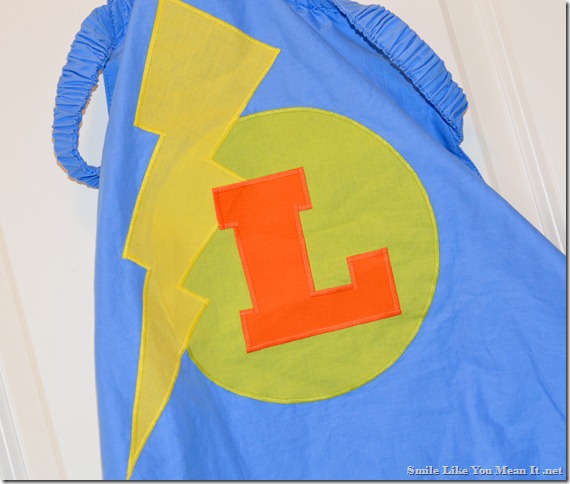
For Luke’s birthday, my mom made Luke some a-mazing superhero capes!  She did amazing applique!

First, the Superman Cape:DSC_7779-2

And then the “Super Luke” Cape:DSC_7772-2

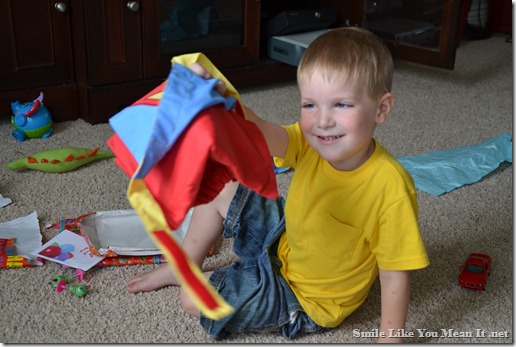
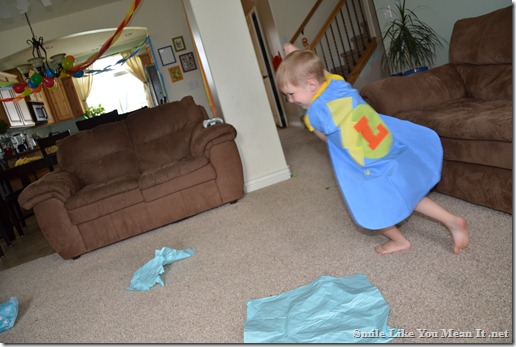
Luke wore these all day when he got them and he loves them!  He immediately started running and “flying” around the room! It’s awesome.

DSC_7372DSC_7377DSC_7378DSC_7379DSC_7380

Here’s some more formal pictures that we took just yesterday.  He loved modeling his capes for me!DSC_7696-2DSC_7704-2

Ask him to wear a cape and run around in a circle?  No problem!DSC_7714-2DSC_7717-2DSC_7719-2DSC_7727-2

And some in the other one…

DSC_7732-2DSC_7735-2

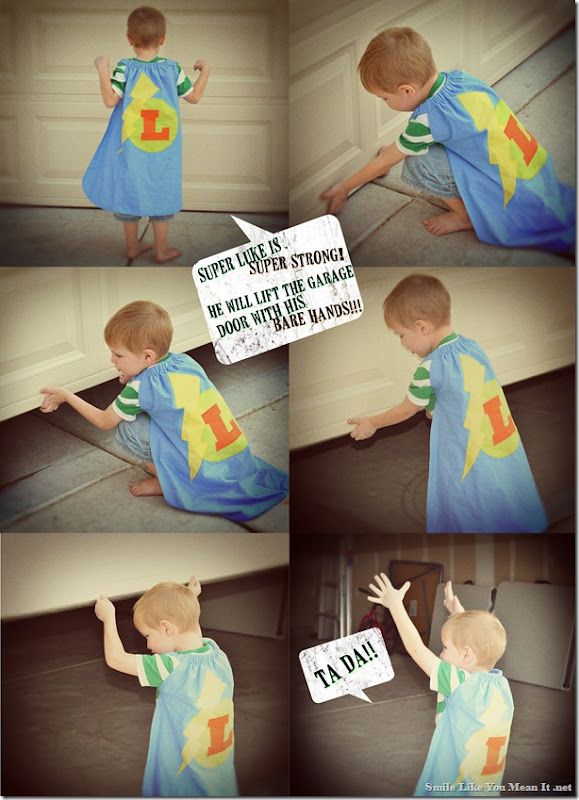
And I couldn’t resist…I just had to make a little comic strip!Super Luke Comic Strip

Thanks, Mom! He loves them!

other posts you may like

Related Posts Plugin for WordPress, Blogger...